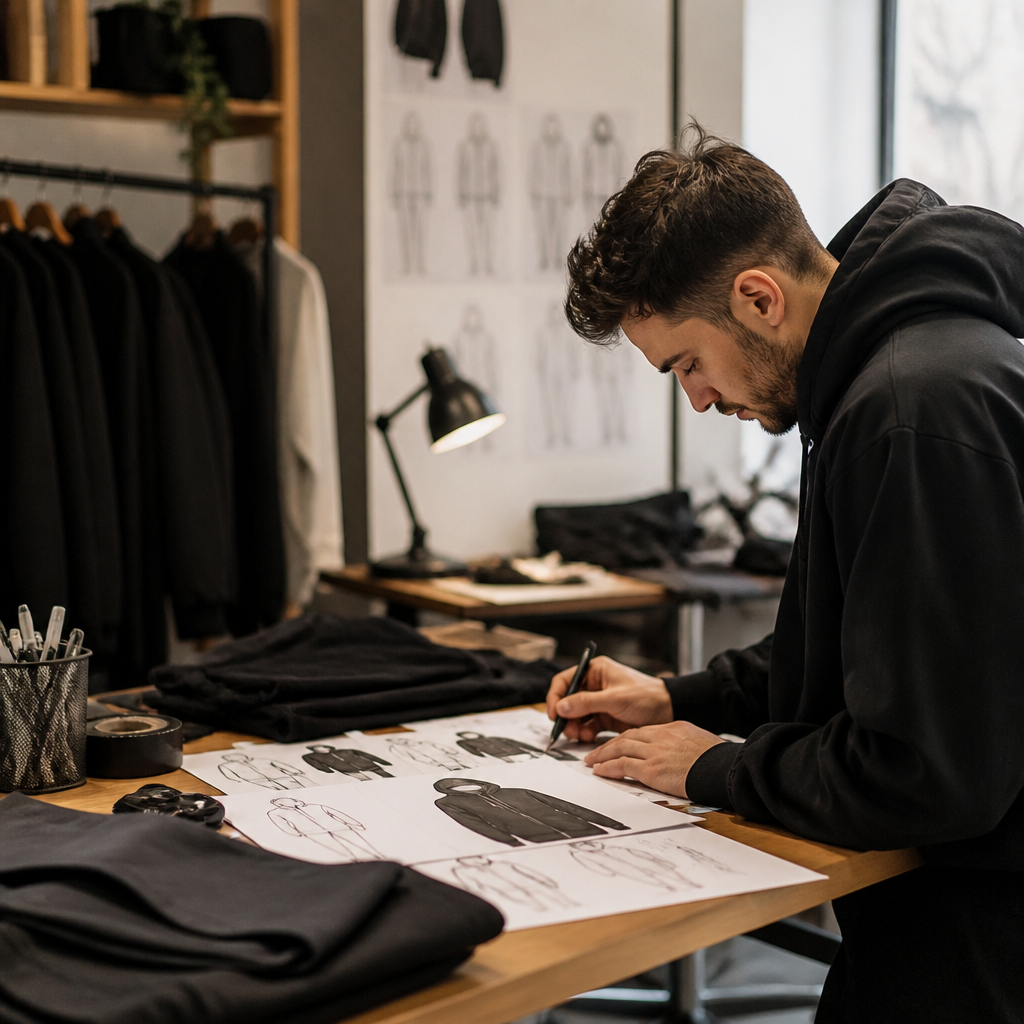
Most merch disasters are not printing problems. They are planning problems that only become visible three days before an event, when someone realizes the team has no shirts, the logo only exists as a low-resolution screenshot, and nobody has decided whether the back print is a good idea. Rush printing can rescue that situation, but it rescues it much more gracefully if you make a handful of smart decisions up front. Here is how to design and order a small apparel run fast without ending up with 40 shirts you quietly hide in a storage closet.
Start With the Garment, Not the Graphic
Designers love to open the art file first. Experienced merch buyers pick the blank first, because the garment decides almost everything else: how the ink reads, how the shirt photographs, and whether people actually wear it after the event.
A few practical distinctions worth knowing before you commit:
- Tees are the cheapest way to get a design into the world and the easiest to size, because the fit tolerance is forgiving. They are also the most disposable, which matters if your goal is lasting brand visibility.
- Hoodies and crewneck sweatshirts cost more per piece but get worn repeatedly, so a hoodie run for a 12-person crew often outperforms 60 tees handed out at a booth. The trade-off is sizing: heavyweight fleece runs differently than a tee, so size up your guesses for borrowed-and-shared garments.
- Matching bottoms are the underrated move for teams, studios and creators who photograph their own content. If you are already printing tops, pairing them with custom sweatpants for a coordinated set gives you a loungewear look that reads intentional rather than promotional.
One more garment note: dark blanks hide printing imperfections and photograph well indoors, while light blanks make color-heavy artwork pop and run cooler in summer heat. If you are in a climate where July is brutal, light tees and lightweight crewnecks will get far more wear than black fleece.
Design Rules That Survive a Short Deadline
Speed punishes complexity. The fastest-moving designs are the simplest ones, and they also tend to look the most confident on a body. When you are compressing a week of design into an afternoon, use constraints as a feature.
Keep the color count tight
One-to-three-color designs are typical for a reason. Fewer colors means fewer places for registration to drift, cleaner edges, and a graphic that still reads from across a parking lot. A two-color lockup — a wordmark plus one accent — is almost always stronger than a five-color gradient badge shrunk to four inches wide.
Size the print for the human, not the page
A left-chest print sits roughly 3 to 4 inches wide and reads as uniform or workwear. A full front print of 10 to 12 inches wide reads as streetwear or event merch. Choose one intention. Shirts that try to be both — small chest logo plus oversized back slogan plus sleeve text — usually look like a compromise nobody signed off on.
Supply art that does not need rescuing
The single biggest cause of rush-order delays is artwork that has to be rebuilt. Send vector files when you have them. If you only have a raster image, make it big: 300 DPI at the actual print size, with a transparent background and the text live or already outlined. Screenshots pulled from a website, a logo lifted off a PDF, or a photo of a business card will all technically print — they just will not print well.
Proofread the thing twice
Dates, apostrophes, player names, sponsor spellings. Read the mockup out loud. An extra two minutes here is the cheapest insurance in the entire process, because a typo on 50 garments is not a reprint question, it is a budget question.
The Legal Part People Skip
If your shirt is a one-off joke for a bachelorette weekend, nobody cares. If you are building an apparel brand, the wordmark on the chest is the asset, and you should know what protecting it involves before you print 300 pieces. Registration is not free and it is not instant, but understanding the fee structure early helps you decide whether to register now or test the design first. The USPTO publishes a plain-language breakdown of what it costs to file a trademark application, which is a sensible first read before you spend money on either lawyers or inventory. Also check that your tagline is not already somebody else’s — a quick search beats a cease-and-desist letter.
Separately, be careful with borrowed imagery: band logos, sports marks, cartoon characters and film typefaces are not fair game just because you are only making ten shirts. Most printers will decline the job, and the ones who do not are not doing you a favor.
Where a Local Rush Printer Changes the Math
Online marketplaces are fine when you have three weeks and no opinions. When the deadline is immovable, proximity and a human on the other end of the proof matter far more than a slightly lower unit cost. Fast Shirt Factory, a custom apparel printer based in Phoenix, Arizona, is built around that scenario: you upload artwork or build something in their AI Design Studio, approve a digital mockup, and the order moves into printing, quality checks and delivery — with no order minimums, so a single shirt and a 1,000-piece staff run go through the same workflow. Their explanation of how rush printing works is a useful reality check on what a same-day or deadline-based job actually requires from you, from file quality to locking in a ready-by date. They also store logos and sizing for repeat orders, which quietly removes most of the friction the second and third time you need shirts for a crew, a church group, a nonprofit event or a brand drop.
A Realistic Five-Day Timeline
- Day one: Decide the garment, the color and the print placement. Collect sizes from everyone who will wear it — in writing, not from memory.
- Day two: Finalize artwork. Export at print size, check the color count, outline the type, and save a flattened preview for sign-off.
- Day three: Submit the order and review the mockup. Reply the same day. Proof approval is almost always the step that stalls a rush job.
- Day four: Production. Resist the urge to change the design now; late edits reset the clock.
- Day five: Pick up or receive, count the pieces, sort by size into labeled bags before handing anything out.
Order Quantities and the Leftover Problem
For a known group, order exact sizes plus one or two spares in the middle sizes. For public giveaways, a rough distribution of 10% small, 25% medium, 30% large, 25% XL and 10% 2XL covers most adult crowds, though trades and sports audiences skew larger. Because no-minimum printing exists, there is no longer much reason to over-order “to hit the price break.” Print a conservative quantity, see what moves, and reprint the winner.
What Separates Good Merch From Noise
The shirts people keep are the ones that work as clothing first. They have a design someone would wear without the context, a garment that feels decent in the hand, and a print that is placed where the eye expects it. Rush printing gives you the schedule flexibility to make those calls late — but it rewards the people who show up with clean files, confirmed sizes and a single clear idea. Get those three things right and a five-day turnaround stops feeling like an emergency and starts feeling like an advantage.